Unfortunately we didn't take many photos of our first few projects, so we won't be able to include detailed photos and steps for those. We'd still like to share them, as they helped us gain the skills we use in more current projects. Plus we're damn proud of them :D
When we moved into the house, one of the rooms on the second floor was 11x22... ridiculously large. It had 2 closets, two vents, and two lights. The PERFECT candidate for being split right in half to make two kids' rooms.


My uncle (a contractor) came over one weekend to help us start. He and Andrew knocked another doorway through and put up the framing and drywall for the wall to separate the two sides. My uncle showed us how to tape and mud the seams and left us to finish the rest - yikes!
Once the wall seams were set, we primed and painted both the new wall and the ceiling (which had several holes). Andrew took care of nearly all the electrical work himself, including splitting the lights and several new outlets. We used an electrician to wire the new wall switch for the one room and hardwire a smoke detector into the other.
The old doorway had its framing still intact, but we had to get a new door and reverse the way it opened (so that it was now opening against the new wall). The other doorway needed a new door AND framing, which we again called a handyman in for. Hey... it's the only way to learn, right?
At this point we were left with the baseboard and trim around the new door. Since our house was built in 1927, the trim is 1x6 pine with a 3/4" round and the door framing is 1x6 with a 1" cap. We absolutely love it and Andrew handcrafted the new doorway trim and replaced the home office doorway (right next to it) trim to match it.
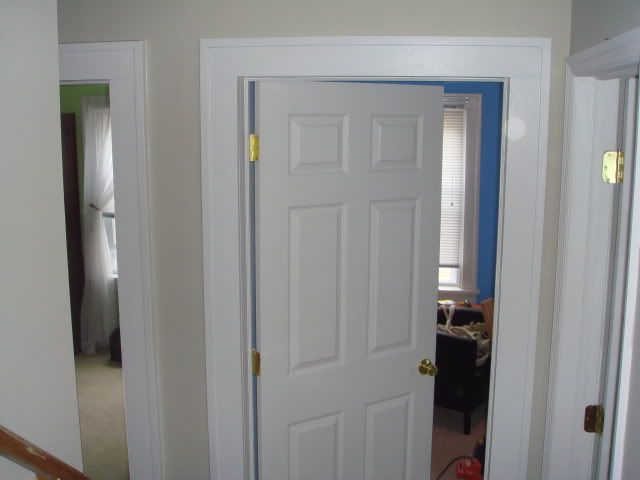
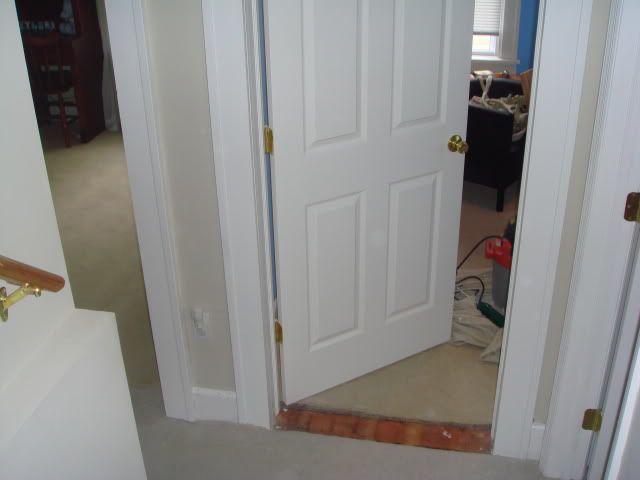

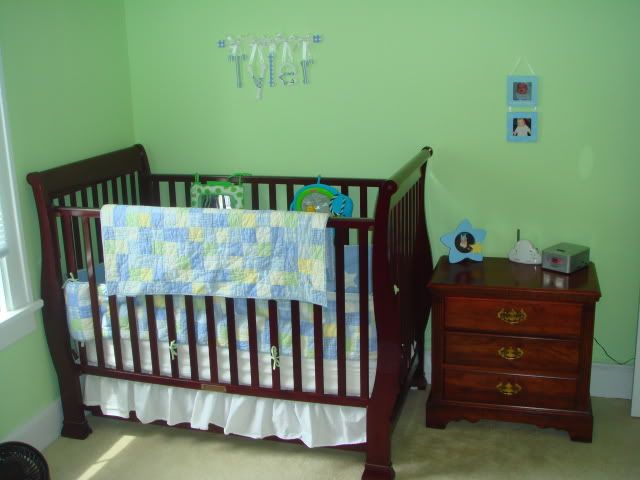
A few cans of paint later, we had two beautiful rooms! Our son, Tyler, stayed in the green room until he was out of a crib, at which point we moved him to the blue one and gave it a "big boy" theme. The green room is now a guest room and will be used as a nursery when another little one makes an appearance.
The green room (nursery/guest room) - the crib is on the new wall:

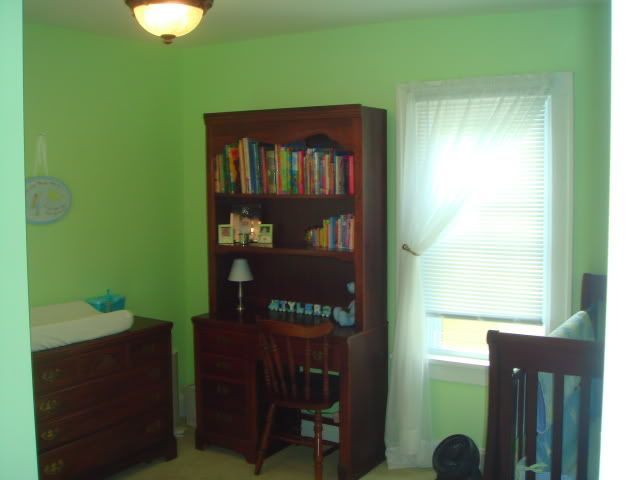
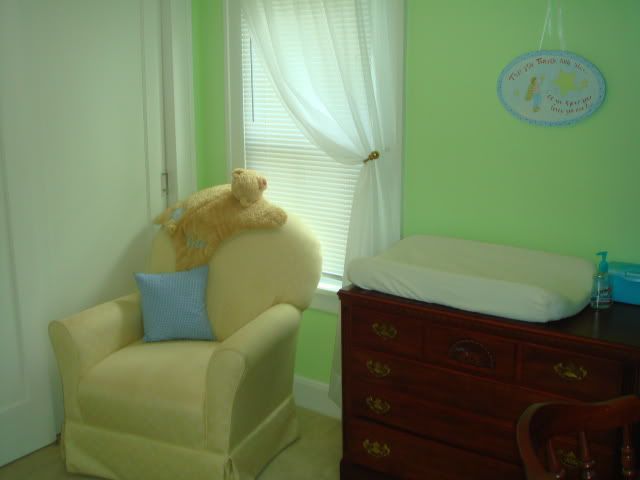

The blue room (Tyler's big boy room) - the desk is on the new wall:


Andrew also put a second bar and shelf in the closet, since it's on the smaller side.


I handpainted the road border around the middle of the room. Ty thinks his room is awesome and I must say... I have to agree!
The entire project took a solid month to complete.

Awesome!
ReplyDelete