Sunday, July 26, 2009

Upstairs Bath Renovation - Part 3

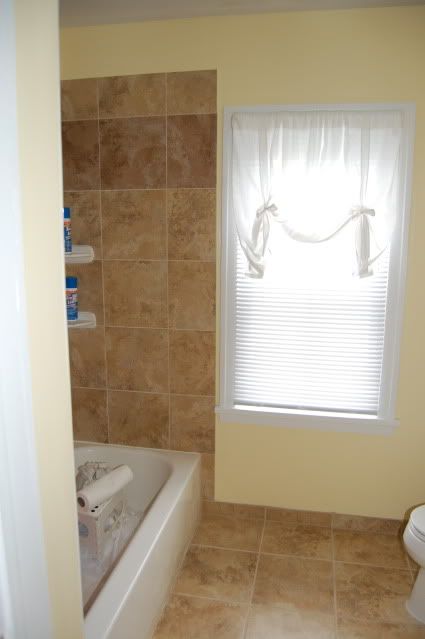
After the primer had a day to dry, I took on painting the bathroom a soothing shade of yellowy-cream (the exact name is Homestead Resort Tea Room Cream by Valspar - who makes up these names?). I chose it because it matched one of the stripes in the shower curtain/accessories I had chosen for the room and because it's the only color we hadn't used yet in the house.

Now that the trim was dry, I reinstalled the blinds and window treatment. I also hung a toilet paper holder and the lone piece of artwork (in order to convince myself it was near completion for sure).

Photobucket

Photobucket

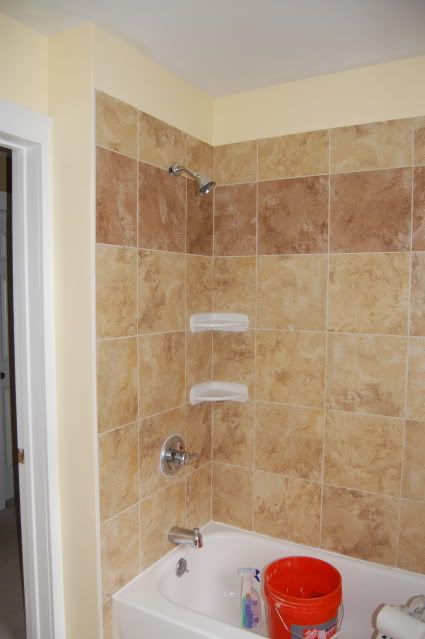
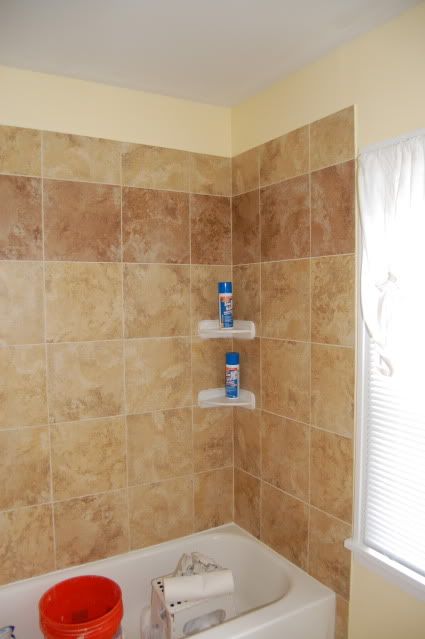
After Andrew scored a great deal on a really nice tile saw, he spent the next weekend tiling the shower walls. The spaces are a bit larger for these tiles at 1/4". We decided to "spice it up" with a row of darker tile by the same brand up near the top and two white corner shelves on each side.

The tiling took two days, then another 24 hours to set. Andrew then grouted with the same color we used on the floor (linen), allowed that to set, then undertook the tedious job of cleaning it. Then, a spray sealer for the grout and another 24 hours to dry. Finally, tons and tons of caulk (which is oh so fun to scrape off the bottom of a tub).

Despite any of the (usual) mess, Andrew did an absolutely amazing job. The tile is perfectly set and simply gorgeous. Pretty awesome for a first-timer, eh?
Photobucket

Photobucket

Photobucket

Photobucket

Photobucket

Next weekend - all the finishing touches! Hooray!

Wednesday, July 15, 2009

Upstairs Bath Renovation - Part 2

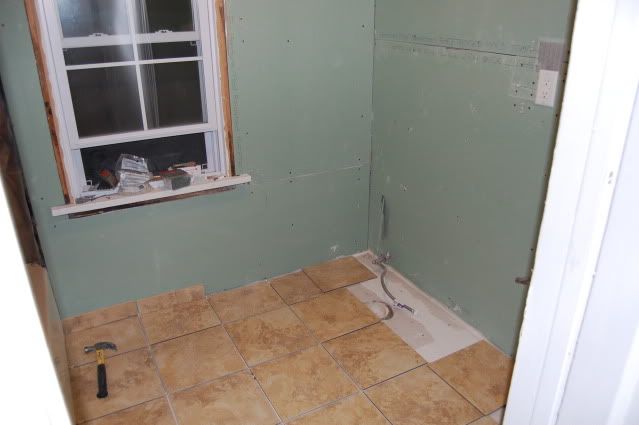
Ok, on to the demo of the shower... and another huge mess. Bags and bags of pink tile and crushed up grout and plaster. Down to the studs! I actually thought it was kind of neat to see the original plaster and lath from when the house was built - this section is actually a view of the backside of the hallway going up the stairs.

Photobucket

Next step: vapor barrier. It's simply sheets of polyethylene plastic stapled to the studs in a way that allows any vapor buildup to flow down away from the walls. Some people consider it an extra step, but when it's YOUR house, it's a step worth taking.

Photobucket

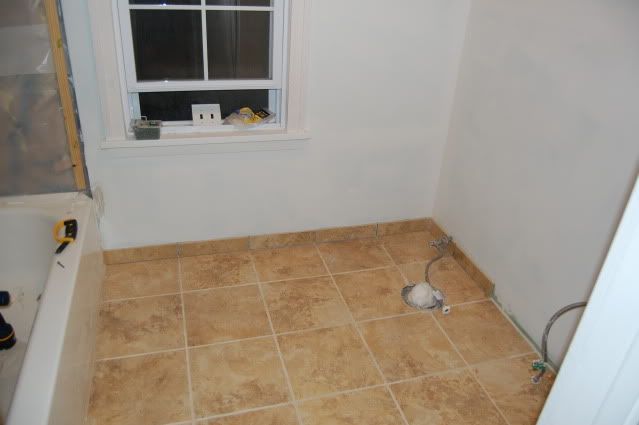
That following weekend, tile installation. Mixing the thinset was like wrangling a bucket of mud with an electric beater... and messy (see a recurring theme here?). Andrew laid all of the tile using 1/4" spacers, then placed weights on any of the areas that didn't want to stay level on their own.

Photobucket

Photobucket

Photobucket

Photobucket

After the thinset had 24 hours to set and dry, I began taping and mudding all the seams. Three coats of that and another 24 hours of drying time, and I sanded everything down to a smooth finish. Andrew spent a night grouting the tile, I added a coat of primer and hey... it was starting to look like a room again!

Photobucket

Photobucket

Photobucket

Now, back to the shower. Andrew installed the necessary cement backerboard to adhere the tile to and more greenboard around the top, above where the tile would end.

Photobucket

Photobucket

Next stop... tiling the shower walls!