Thursday, May 21, 2009

Crown Moulding, Hardware, and Paint... Oh My!

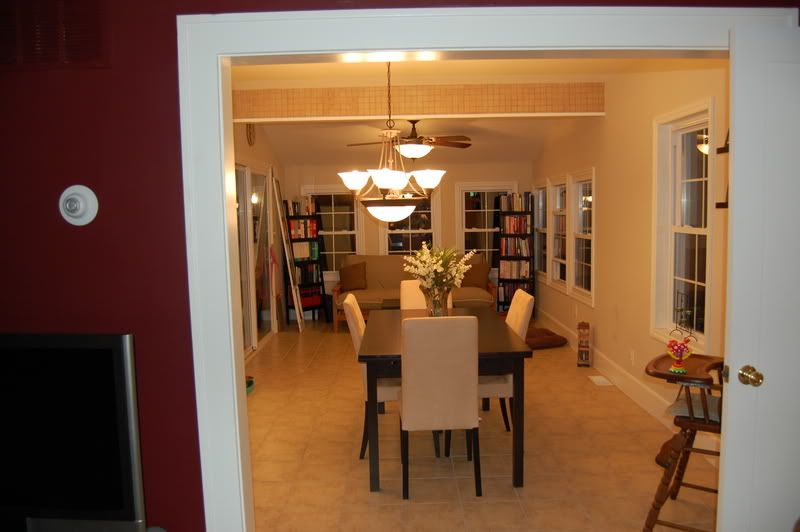
Although it's a fairly small area, I love our kitchen. It's galley style, with a bathroom on the one end and an open dining area on the other. We don't have a formal dining room, which is fine with me. To the rear of the dining area is a sunroom with a sliding door out onto our deck.

When we moved in we hardly had enough furniture to fill the area. I didn't have a china cabinet, so the countertops were littered with our wedding gifts for weeks.

I love the light fixtures in the dining area and sunroom, love that there are TONS of windows, love the travertine floors, and love the earthy granite countertops. The cabinets are fine - standard Home Depot stuff - and the appliances were stainless - my preference. We had to purchase a fridge, as the one that came with the house was a leftover white one from the workers flipping our house. I'm not a huge fan of the fluorescent kitchen light and I'm sure that one day we'll be putting in recessed lighting.

Some shots of the kitchen/dining area/sunroom the week we moved in (10/07):
Photobucket

The light in the dining area wasn't centered with the opening to the living room for some reason - we put this on our punch list. It was fixed, but took a bit of work and we now have a finishing plate on our ceiling. It doesn't stick out too badly... and is most definitely less noticeable than the light's placement beforehand.

Photobucket

Kitchen, complete with mismatched fridge and china that has never been used.

Photobucket

Photobucket

Photobucket

Sunroom, furnished with a futon that we tried to pretend wasn't Pepper's bed (but she quickly claimed it as such).

Photobucket

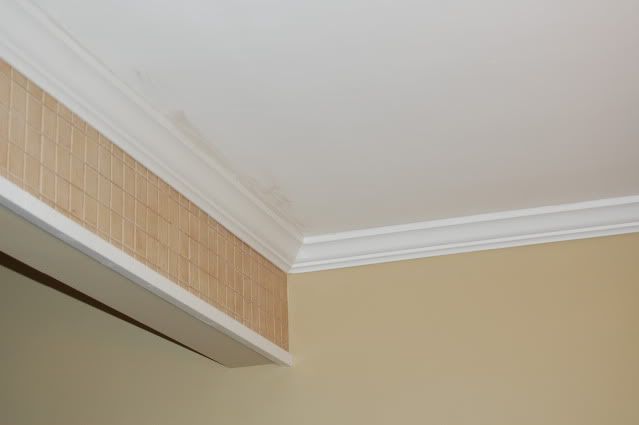
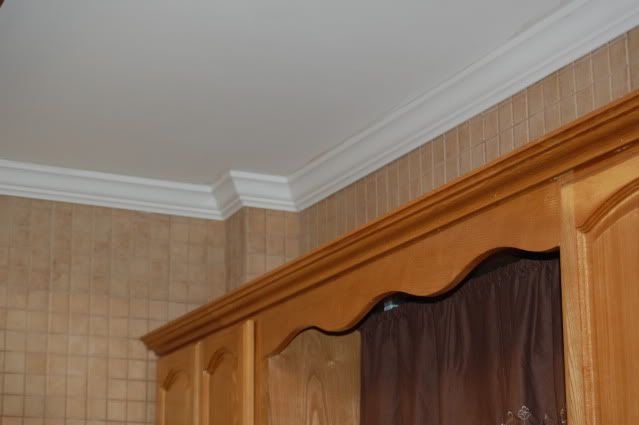
We like that 3/4 of the kitchen & dining area is tiled, as it made for less to paint and is easy to keep clean of cooking remnants. However, whoever was on tile duty the day our kitchen was updated didn't do the best job along the edges and I really wanted to disguise some of the unevenness along the top. So Andrew took a Saturday and put up some crown molding. It solved any ragged edges and made the space a bit more formal, which is nice since we don't have that dining room.
Photobucket

Photobucket

Then, in an effort to dress up the very basic cabinets a bit, we added some stainless steel knobs to all of the drawers and doors. It took a couple of hours and made more of a difference than I expected.

Photobucket

Photobucket

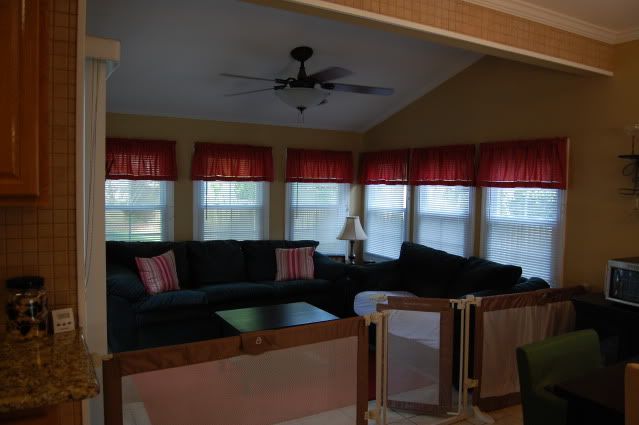
We painted the one wall of the dining area and the sunroom a rich beige, bought some new furniture, added some window treatments, and moved the old living room furniture into the sunroom once we bought a new couch and armchair. We also put up a gate to keep Pepper out of trouble when we're out or have guests over. Notice that she still has claim to a piece of our furniture (the green loveseat with the crib sheet on it - a lame attempt to curb the drool).

Photobucket

Photobucket

Photobucket

Photobucket

Photobucket

The changes we made were only cosmetic, but well worth it for an area I spend nearly half my day in. I hope our guests find it as warm and inviting as we do!
Tyler's Playroom

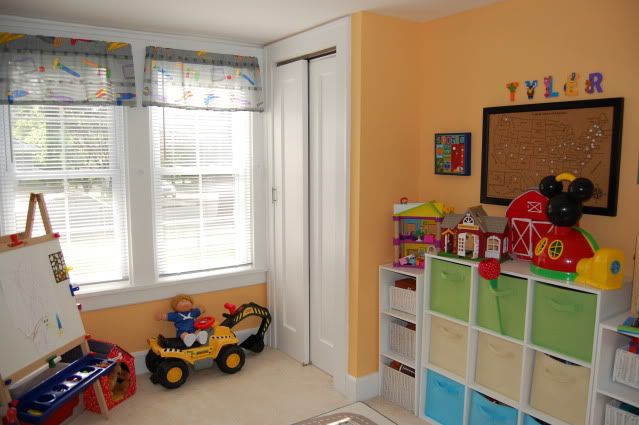
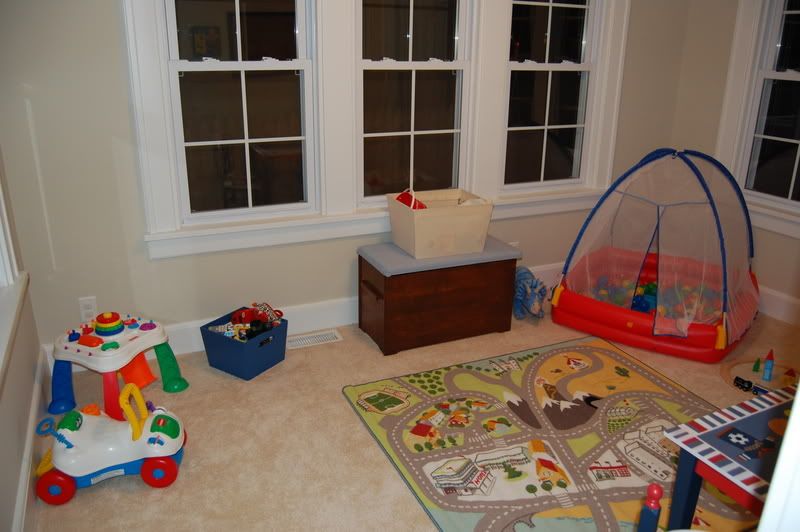
Tyler's playroom is technically a 4th bedroom on the first floor that is a converted 3 season porch behind our living room fireplace. We didn't do any real renovations here... just a can of paint, some homemade valances, and a few toy bins. Oh and a crapload more toys.

A week after moving in:

Photobucket

Photobucket

Photobucket

After a little TLC:

Photobucket

Photobucket

Photobucket

I didn't realize how much I would LOVE having a separate room for all of Ty's toys until after we moved in. I don't know what I'd do without it, being the neat freak that I am. And he loves having a little retreat all to himself.

Wednesday, May 20, 2009

Master Bedroom Closet

Our house has 4 floors - a basement, a first floor (living room, kitchen, dining area, sunroom, playroom, full bath), a second floor (full bath, 2 bedrooms, home office), and a third floor that we use for our master bedroom. It's a converted walk-up attic, but looks more like a loft area with a door on the landing of its staircase.

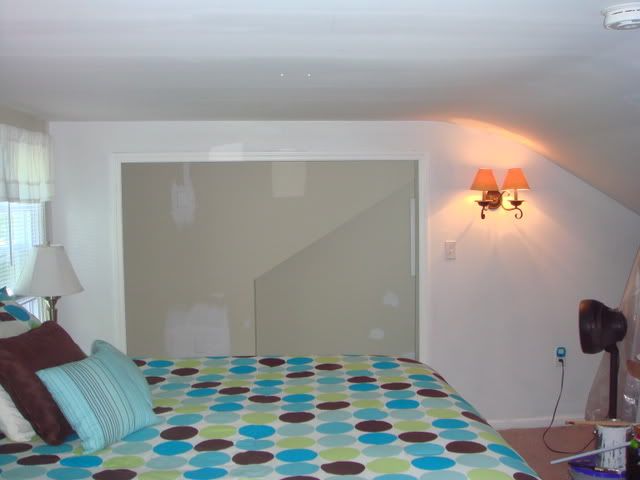
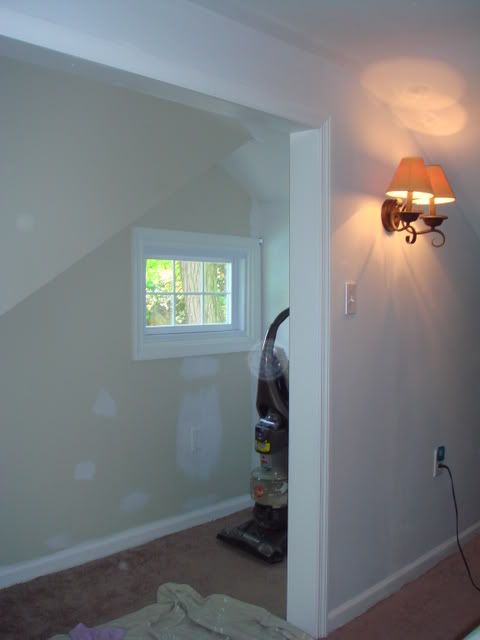
It's a fairly large space and we were easily able to fit our king sized bed, 2 nightstands, a dresser, and a 60 inch TV in the room (don't even ask). However, it had only one very small, half-height closet (see white door in second pic) tucked into the slanted part of the wall/roof. Andrew could barely fit his work clothes into it and I was left using a garment rack and some Rubbermaid bins.

Photobucket

Photobucket

Photobucket>

Now we all know that NO girl is happy with this setup. So we decided we needed a true master bedroom closet - the entire length of the far wall (the one with the Rubbermaid bin and mirror in the first pic) with two bifold doors and built in shelving in the back.

After some discussion, Andrew drew out the plans:

Photobucket

He was able to frame out the closet in an extended weekend and tackled the electrical the next. He installed two outlets, moved the light on the back wall (next to my beloved garment rack) to the front wall of the closet, and installed a closet light with a switch. He also re-routed a vent that would have otherwise been blowing air into the closet.

Photobucket

Andrew put up some drywall and trim (the third floor was very recently converted so the molding and trim is all what is standard on new construction these days), I taped, mudded, and sanded.

Photobucket

Photobucket

Andrew installed the doors, seamed the carpet together where we had to cut it for the framing, built some shelving in the back recess for shoes and one up top for sweaters, and installed a VERY long metal bar for everything on hangers. I slapped on a couple coats of paint (which is more on the turquoise side than the pictures show) and made a fabric headboard.

The finished product, starting at the staircase going up:

Photobucket

Photobucket

Photobucket

Photobucket

Photobucket
A perfect master bedroom retreat for two... and all their clothes.

Thursday, May 14, 2009

Making Two Rooms From One

Let's start from the beginning...

Unfortunately we didn't take many photos of our first few projects, so we won't be able to include detailed photos and steps for those. We'd still like to share them, as they helped us gain the skills we use in more current projects. Plus we're damn proud of them :D

When we moved into the house, one of the rooms on the second floor was 11x22... ridiculously large. It had 2 closets, two vents, and two lights. The PERFECT candidate for being split right in half to make two kids' rooms.

Photobucket

Photobucket

Photobucket

My uncle (a contractor) came over one weekend to help us start. He and Andrew knocked another doorway through and put up the framing and drywall for the wall to separate the two sides. My uncle showed us how to tape and mud the seams and left us to finish the rest - yikes!

Once the wall seams were set, we primed and painted both the new wall and the ceiling (which had several holes). Andrew took care of nearly all the electrical work himself, including splitting the lights and several new outlets. We used an electrician to wire the new wall switch for the one room and hardwire a smoke detector into the other.

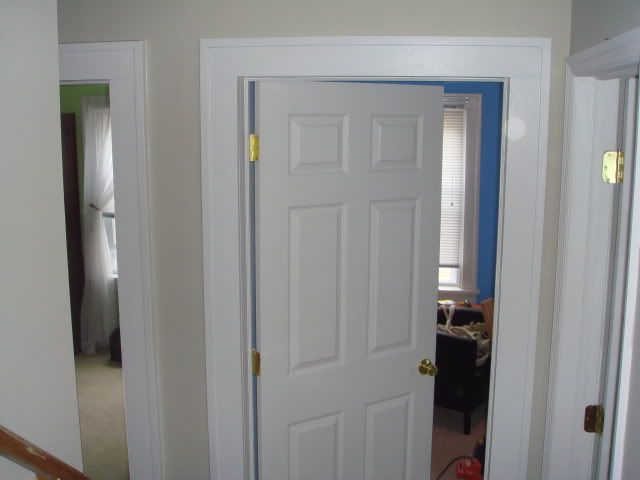
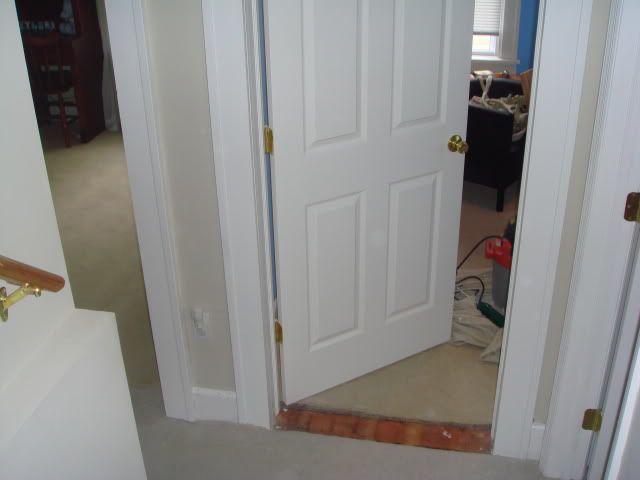
The old doorway had its framing still intact, but we had to get a new door and reverse the way it opened (so that it was now opening against the new wall). The other doorway needed a new door AND framing, which we again called a handyman in for. Hey... it's the only way to learn, right?

At this point we were left with the baseboard and trim around the new door. Since our house was built in 1927, the trim is 1x6 pine with a 3/4" round and the door framing is 1x6 with a 1" cap. We absolutely love it and Andrew handcrafted the new doorway trim and replaced the home office doorway (right next to it) trim to match it.

Photobucket

Photobucket

Photobucket

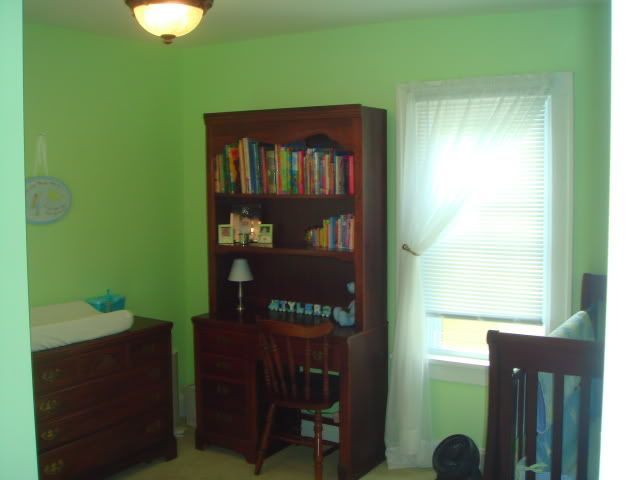
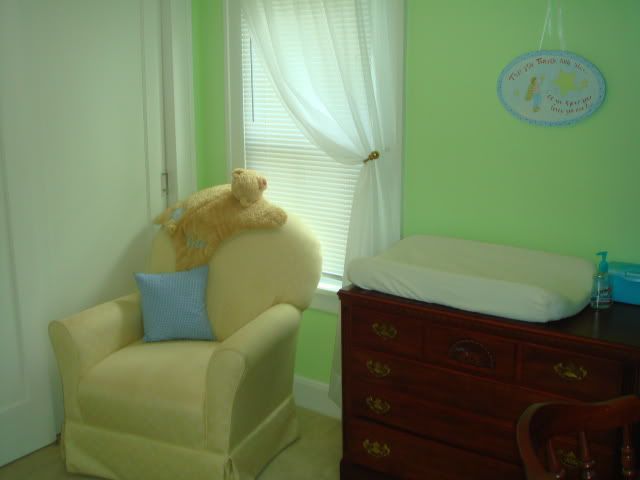
A few cans of paint later, we had two beautiful rooms! Our son, Tyler, stayed in the green room until he was out of a crib, at which point we moved him to the blue one and gave it a "big boy" theme. The green room is now a guest room and will be used as a nursery when another little one makes an appearance.

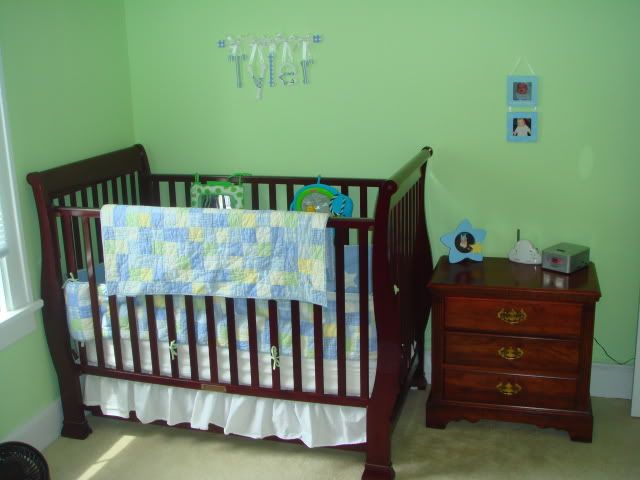
The green room (nursery/guest room) - the crib is on the new wall:

Photobucket

Photobucket

Photobucket

Photobucket

Photobucket

The blue room (Tyler's big boy room) - the desk is on the new wall:

Photobucket

Photobucket

Photobucket

Andrew also put a second bar and shelf in the closet, since it's on the smaller side.

Photobucket

Photobucket

Photobucket

I handpainted the road border around the middle of the room. Ty thinks his room is awesome and I must say... I have to agree!

The entire project took a solid month to complete.